Here are more photos of the house's transformation. It's been really enjoyable being able to see the plans we had for our home come to life, though it is to become someone else's home. I feel more confident in my tastes and style decisions for a house. Now if I could do the same for my personal style...
Today we'll go through the rest of the main house, and include a few back yard and apartment photos too. Enjoy!
Den Before:

Now Master Bedroom:

Bedroom 1 Before:

After:

Bedroom 2 Before:

After:

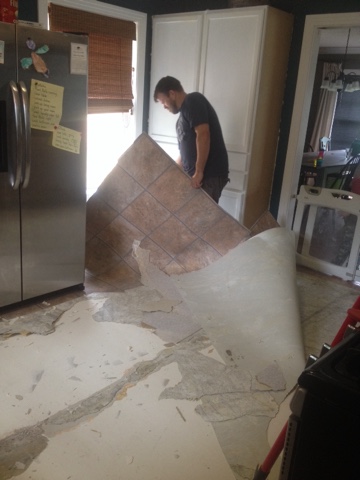
Before:

After:

Back Yard Before:

After:

Before:

After:

Apartment Before:

After:

Before:

After:

Before:

After:

Well, that's it for now, friends and family! All too soon we'll be leaving many of you to join many others of you. Now if I can deal with the grief of leaving such a loving community, I'll finally become excited about the adventure our family is on, and try to post some photos of the new place for you. Much love to you all!


