I love light fixtures, and am a little bit picky with the ones at big box stores. I like unique, original, or creative fixtures. I just don't have $5,000 or even $500...or even $50 right now to spend on one. We've had an old light fixture in our entryway, and when it came time to update it we decided we wanted to save money and retain as much character as possible. Obviously, reworking the current fixture was the way to go. Now here's how to update an old light fixture in your home:
Step 1
Take "before" photo of original 1940's/50's light fixture.
(Totally missed that.)
Step 2
Remove dust-covered crystal prisms and clean all parts till shiny.

Step 3
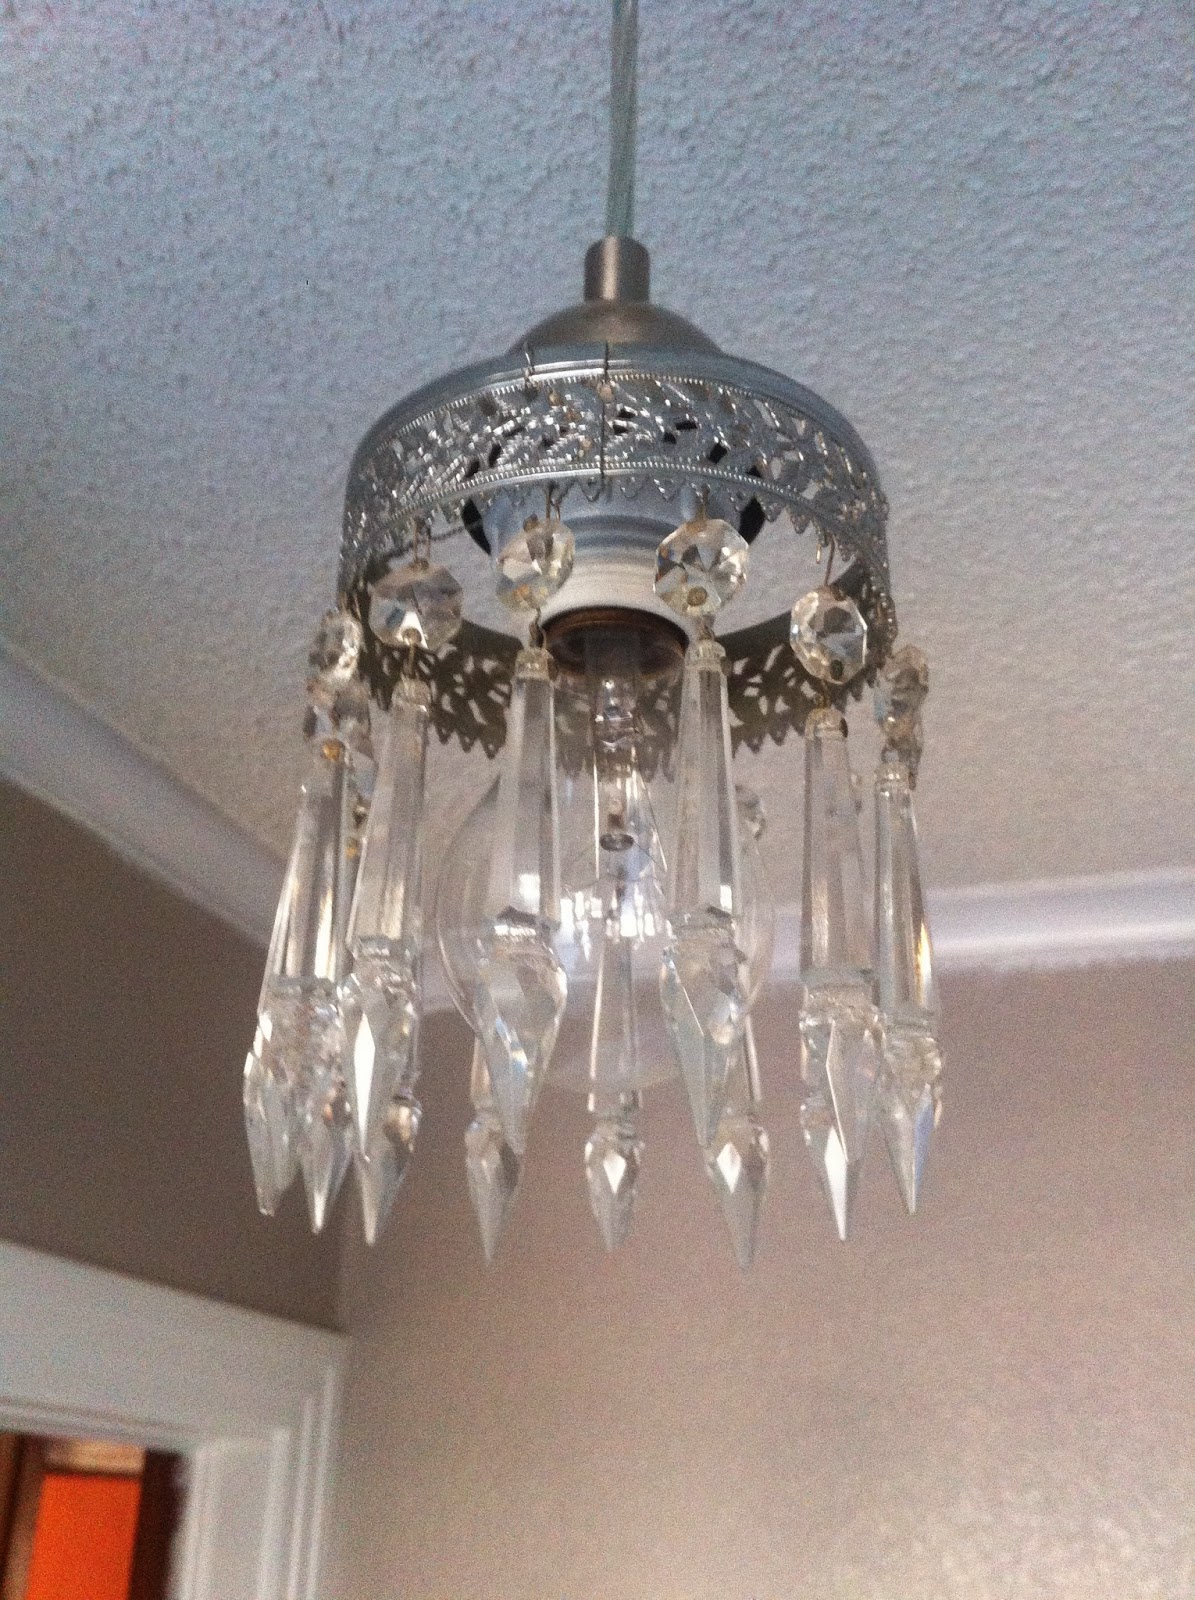
Purchase necessary parts and reconfigure. In our case, we bought a $15 "mini pendant kit" from a home improvement store. I removed the filigree ring from its original base with pliers, and discarded the old electrical components. Using cheap metal wire, I attached the filigree crown to the pendant and re-hung the cleaned original prisms. Finally, my husband installed the new fixture in the entryway ceiling.

Step 4
Take an annoying amount of "after" photos of the finished project in different settings.


Beautiful! I wondered what this was going to look like when you showed a picture of the crystals taken down. Well done!
ReplyDeleteThank you, my dear! I am quite pleased.
Delete