Thursday, March 17, 2011
Maternity Wear 6
Someone hand me a monkey wrench!! I feel all mechanic-y in this men's large button-up shirt by J.Crew. Only $4 at Goodwill, and ready to start lookin' "sooooo goood." "ARROWED!" (50000 points if you recognize that reference)
Okay, here's the finished product. I followed Megan's tutorial on her site DIY Maternity, and added a few details of my own.
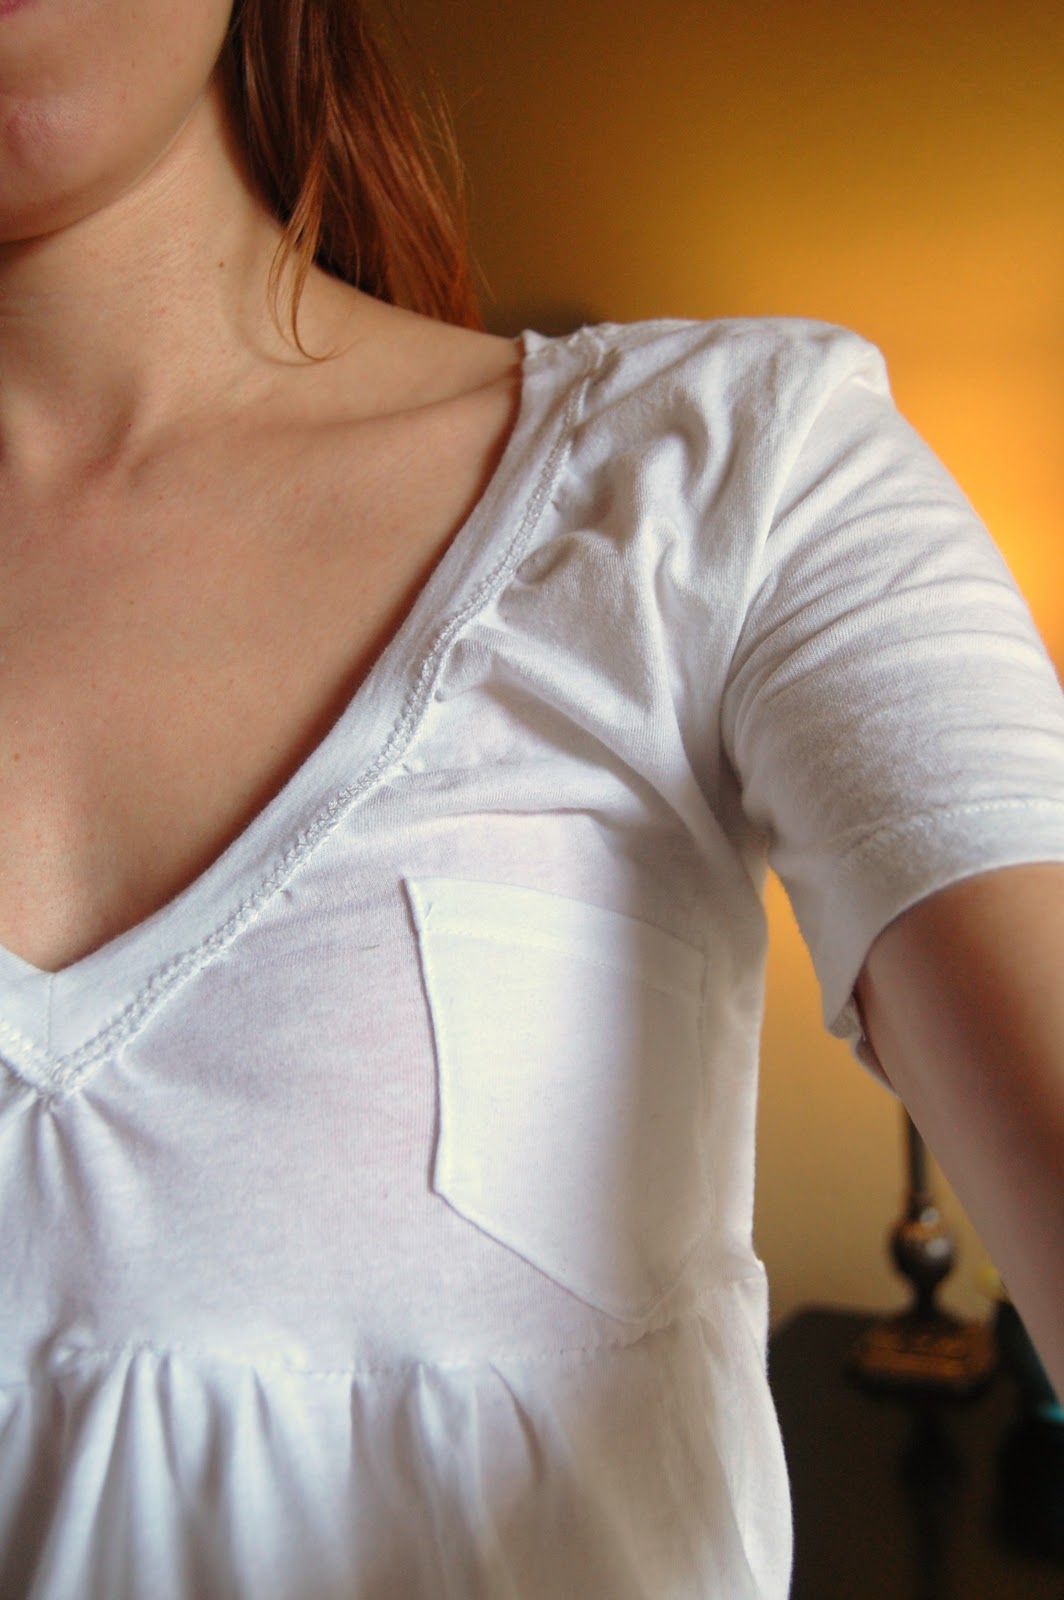
As Megan said to, I took in the underarms a couple of inches, then removed the front pocket. I also shortened the sleeves and re-attached the sleeve hems so I could put elastic in them. More gathers = more feminine. And we all know elastic = comfy. As Megan instructed, I also cut out a new neckline and gathered it, finishing the edge with bias tape. This was the first time I think I've ever bought bias tape. I feel cheap and dirty.
Then I added a strip of bias tape around the bust line (I accidentally put it about an inch too low, but I'm too lazy to fix it) and strung some white ribbon through, per Megan's tutorial.
I liked her idea of zig-zag stitching the bias tape edging on the neckline, though I didn't spritz it with water to shrink it into shape afterwards. I had no idea where a clean spray bottle was, and I wasn't going to look for one.
The bias tape made the perfect casing for the ribbon. I may need to use this trick in the future.
Here's a closeup of the sleeve after adding elastic inside the hem. Really, really easy. I'm not as fond of the fit of this shirt as I am with the previous, but it'll do in a pinch. And it's definitely an improvement on the original (woof). I think I can lose one hour and $4 and not cry over it. Maybe.
Tuesday, March 15, 2011
Maternity Wear 5
We're half-way through, now at #5 of the maternity clothing re-makes of 10 promised. This time it's a men's size large dress shirt from Goodwill. I'd love to have used one of my hubby's, but none were available. Needless to say, there was plenty of room to grow here. But no room for sexiness. And we just can't have that.
Just after completing Maternity Wear #4, I found the DIY Maternity website by Megan Nielsen. What a kindred spirit! Only she's a real clothing designer with real clothes and patterns for sale. I took her tutorial for turning a men's button-down shirt into a maternity shirt and made a few changes to her design.
I shortened the sleeves and re-attached the cuffs below my elbow just as she did. But I also took about 2" off the sides of the bodice and 1.5" off the sleeves, since a men's large is humongous on me. I found that was too much to allow for my belly, so I added the 2" back to the sides, but only under the bust line. I then zig-zagged the raw edges so they won't unravel in the wash and added a strip of 1/3" elastic just around the inside of the bust line (just as Megan did).
Sorry for another blurry photo. As you can see, it now fits more like a tunic than a shirt and has plenty of room for a growing belly. I like that it still is a button-down, which may make it a fine nursing top as well (especially with the post-preggo belly to hide).
Here's the back. I think this is the classiest, most versatile thing I've made yet - and I dare you to find a good-fitting, comfortable button-down collared maternity tunic for $5!
I really like how this one turned out, and I'm excited to start on #6...which has something in common with this one! Stay tuned!
Wednesday, March 9, 2011
Maternity Wear 4
I got this size L t-shirt at Old Navy for $.47! The nice guy marking down the clearance stuff clearly saw I was a master shopper (yeah right) and pointed it out for me. If you sew, never turn away too-large knit clothing! There's so much you can do with it, and it's so easy to sew clothing with.
And here's the finished makeover! Look at that - so much ample fabric in the front you can't even see the bump. Perfect! I cut the neckline out, gathered the fabric and re-sewed it. I cut the bottom off just below the bust line, used a well-fitting t-shirt of mine to measure and cut the new bodice and sleeves, and re-sewed everything (allowing the excess of the bottom portion to gather in the front). I love how it fits.
Please pardon the blurry photo of the back of the shirt. I already put the tripod up, and I am NOT getting it back out. Sorry.
Here's a closeup to show inquiring minds how I zig-zag stitched the neckline back onto the bodice. With knit fabrics like this, you don't have to finish your ends. They just curl and remain soft. You can even leave the ends on the outside of the garment if you prefer a "pieced" look. It's about dang time I have a comfy maternity tee, too; all my t-shirts were riding up on my belly button.
Tuesday, March 1, 2011
Maternity Wear 3
Yesterday I teased you with this photo of a skirt and tank on the woodpile. The skirt was a gift from my friend Col, and DM picked up that tank for me back in the day from Old Navy for - what was it, $2? Now the skirt won't zip over my belly and the tank won't fit for long. They were perfect candidates for a maternity makeover. What have these become?
TA-DAAAAA!!
It's an almost tunic length top. Perfect for wearing with leggings, pants or capris but nowhere near long enough to be a dress. I used some scraps from the skirt to make a flower after finding about a million tutorials online for said endeavor. I cut the tank below the bust (kept a half inch for seam allowance), cut the top off the skirt just below the zipper (so I could fit it over my head without needing a zipper on the finished product), and zigzagged them together inside-outwards. I then added a narrow strip of elastic just below the seam to make sure I didn't have tent-top syndrome.
I thought it turned out pretty darn good.
Subscribe to:
Posts (Atom)